Imagine holding a piece of history in your hands – an object that witnessed millennia, held stories whispered by pharaohs, priests, and artisans. Now, imagine that piece of history, after a long, unauthorized journey, finally returning home. It’s more than just an item; it’s a homecoming, a rectification of a historical wrong, and a powerful statement about cultural identity and international cooperation.
This isn’t a scene from an Indiana Jones movie, but a very real and profoundly significant event unfolding between Australia and Egypt. Recently, Australia formally returned 17 rare Pharaonic artefacts to Egypt, a move that reverberates far beyond the immediate exchange of objects. It’s a moment that speaks volumes about mutual respect, the ongoing battle against illicit antiquities trade, and the strengthening cultural ties between two nations seemingly worlds apart.
The Echoes of Ancient Egypt: A Homecoming Story
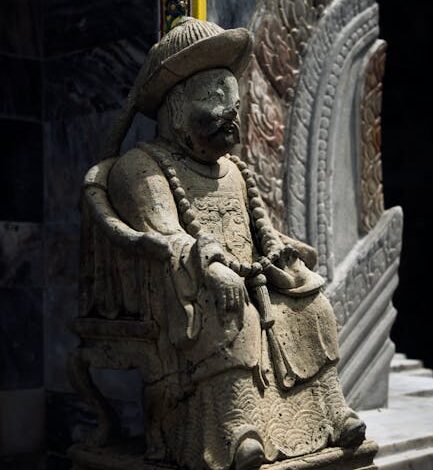
Seventeen. It might seem like a small number in the grand tapestry of Egypt’s archaeological treasures, but each of these Pharaonic artefacts carries immense weight. Spanning various epochs of ancient Egyptian civilization, these pieces are tangible links to a sophisticated past, offering glimpses into daily life, religious beliefs, and artistic prowess that shaped one of humanity’s earliest great civilizations. Their return isn’t just about recovering property; it’s about reclaiming narrative, preserving heritage, and honoring a profound cultural legacy.
The journey of these artefacts has been a long and winding one. Their initial departure from Egypt was, regrettably, through channels outside the legal framework. For years, they resided in the hands of a private entity in Australia. The Egyptian diplomatic mission in Australia, however, never forgot them. Since 2019, they have tirelessly advocated for their return, building a case based on international law and the moral imperative of heritage preservation.
This persistent advocacy bore fruit with a landmark ruling from the Australian High Court on September 3, 2025. The court’s decision to order the seizure of these pieces was a critical turning point, demonstrating Australia’s legal commitment to ethical heritage practices. It underscores a global shift in recognizing source countries’ rights to their cultural patrimony and actively participating in its restitution.
When these objects finally touched Egyptian soil, one can only imagine the collective sigh of relief and pride. It’s a powerful reminder that while artefacts can travel far and wide, their true home, their historical context, and their deepest meaning often lie with the people and land from which they originated. This homecoming is a testament to unwavering dedication, proving that even after decades or centuries, cultural identity can find its way back.
Beyond Borders: Diplomacy as a Guardian of Heritage
This entire process, culminating in the formal signing of documents during Ambassador Nabil Habashi’s official visit to Canberra, highlights the critical role of diplomacy. Ambassador Habashi, Egypt’s Deputy Foreign Minister, underscored the significance of this event, rightly noting that it reflects the “depth of cultural cooperation and Australia’s steadfast commitment to combating the illegal trafficking of antiquities.”
The presence of Australian Minister Tony Burke, who oversees vital portfolios including citizenship and arts, at the formal agreement further emphasizes the Australian government’s dedication to this cause. It wasn’t just a bureaucratic formality; it was a deliberate act of statesmanship, acknowledging the shared responsibility of protecting human heritage. This kind of high-level engagement sends a clear message to collectors, dealers, and even casual enthusiasts: the provenance of cultural artefacts matters, and illicit trade will not be tolerated.
The Silent Battle Against Antiquities Trafficking
The illegal trafficking of antiquities is a pervasive and damaging global issue, often funding organized crime and undermining the historical record. Every artefact lost to the black market represents a fragment of human history that becomes disconnected from its context, its story muted, its educational potential diminished. Countries like Egypt, with their incredibly rich historical legacy, are particularly vulnerable to this illicit trade. Therefore, when a nation like Australia takes definitive legal and diplomatic action to return stolen heritage, it sets a powerful precedent.
This collaboration between Egypt and Australia is a shining example of how international partnerships can effectively counter this silent plunder. It’s about creating a global network of vigilance and cooperation, where cultural institutions, legal systems, and diplomatic channels work in concert to safeguard our collective past. It shows that nations, despite geographical distances, can unite over shared values and a common goal: the protection of human heritage for future generations.
Strengthening Bonds: A Future Forged in Shared History
Ambassador Habashi eloquently framed this collaboration as “emblematic of the mutual respect and trust that characterize Egypt-Australia relations.” This isn’t just about 17 objects; it’s about building bridges, fostering deeper understanding, and solidifying a relationship based on shared principles. When nations collaborate on such sensitive and historically charged matters, it builds a foundation of trust that can extend to other areas, from economic partnerships to cultural exchanges.
The timing of this restitution is also noteworthy. The ambassador indicated that the return of these artefacts coincides with a notable increase in Australian tourism to Egypt. While the precise figures remain for members-only content, the underlying trend is clear: cultural understanding often fuels curiosity and travel. When a nation demonstrates such profound respect for another’s heritage, it naturally enhances its appeal as a destination.
Tourism to Egypt offers Australians a chance to witness the marvels of ancient civilization firsthand, connecting with the very culture from which these artefacts originated. It creates a virtuous cycle: diplomatic cooperation fosters respect, which in turn encourages cultural exchange and travel, further cementing the bonds between people and nations. It transforms abstract political agreements into tangible human experiences.
Ultimately, the return of these 17 rare Pharaonic artefacts from Australia to Egypt is far more than a mere transaction. It is a powerful narrative of justice, cooperation, and the enduring power of cultural identity. It reminds us that our shared human heritage transcends borders and that when nations work together, they can not only correct historical wrongs but also forge stronger, more respectful relationships for the future. This act of restitution is a beacon of hope, illustrating that history, once lost, can indeed be reclaimed, and in doing so, enrich us all.